Exporting audio from the Voice Memo app
Alright, so the first step to transcribing your voice memo is to export the audio file. It’s pretty straightforward:
- Open the Voice Memo app on your Mac
- Drag the audio file on your desktop
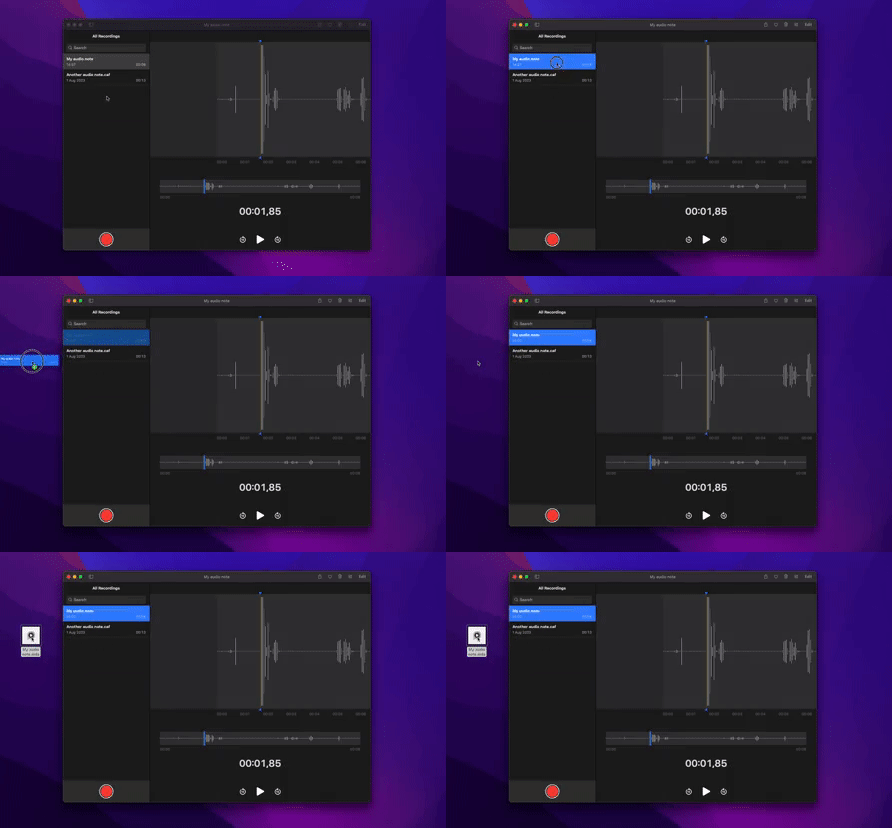
Yep, that's it. That’s what’s cool with Apple, everything is simple and just works.
💡 Pro tip: If you have an iPhone, your voice memo will be automatically synchronized with your mac thanks to iCloud.
Transcribing your Voice Memo
Now you have your file, we can start the hard part. We have 3 solutions for you. We’ll start with the easiest, and finish with the most complicated one.
Using TalkNotes (easy)
Well, obviously I'm biased since I made the app 😆
That being said, here is how you can use TalkNotes to transcribe your voice memo:
- Login or create an account
- Click the "upload icon"
- "Pick the style you want
- Click "Transcribe"
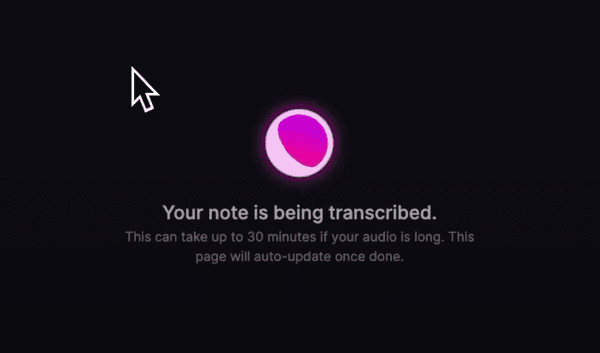
Yep, it’s that easy. Now you just have to wait a couple of minutes and your audio will be ready to go.
Using Youtube Captions (medium)
This one is simple but takes a bit of time. Youtube doesn’t support audio-only files, so you’ll have to create a video from your audio first.
You can use any content editing software, Here we’ll use Canva.com to keep things simple.
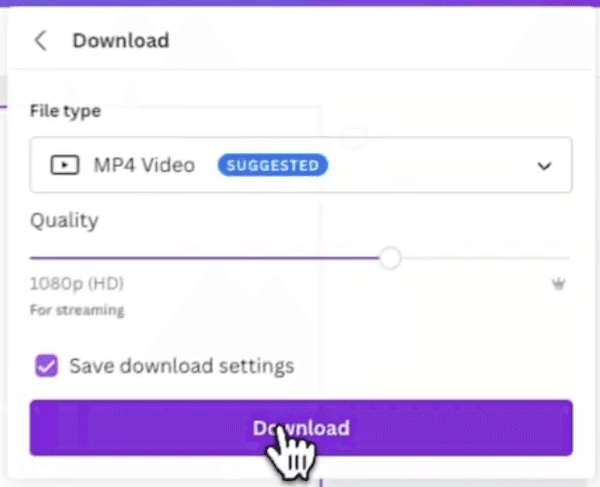
Click “Create a design”, select “video” and drag your audio. Then, click “Share” and “Download”. You now have your video, yay!
Go to YouTube, click “Create” and add your video.
Ignore all the options, just make sure the video is marked as “Private”, then upload it. Once the upload is done, click on the video, and click “Show more” to display more options. Scroll until you find “Language and captions certification”. Add the language of your audio, then click “Save”.
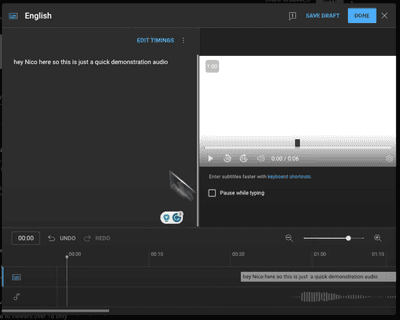
Scroll up, and you now have access to “Subtitles”. Click, and you now have access to your transcript!
Using Whisper API + CLI (hard)
We recommend this one if you’re a techie and you’re familiar with Mac CLI (Commands-line interface). You’d have to write some code to get it working, but no worries, we prepared everything for you.
First, go to OpenAI and create an account. They usually give free credits, but you’ll need to add a payment method if you plan to use it in the long term
Then, you’ll need to get an API key. Go to the API keys page, create a key and copy it somewhere. Be careful, you can only see your key once.
Once you have your key, open the “Terminal” application on your Mac, and enter the following code to save your API key:
export OPENAI_API_KEY=your_api_key_here
Then, get the path to your voice memo. You can do right-click, then press options and “copy XXX as path name”. Once you have it, you can enter the code below inside the terminal app:
export AUDIO_FILE_PATH=path_to_your_file
Great, now we have everything we need! You’ll need to use this final command to send the file to WhisperAPI and get the result:
curl https://api.openai.com/v1/audio/transcriptions \
  -H "Authorization: Bearer $OPENAI_API_KEY" \
  -H "Content-Type: multipart/form-data" \
  -F "file=@$AUDIO_FILE_PATH" \
  -F "model=whisper-1"
If it worked, you should see something like this:
{"text" : "Your audio transcript should be here"}
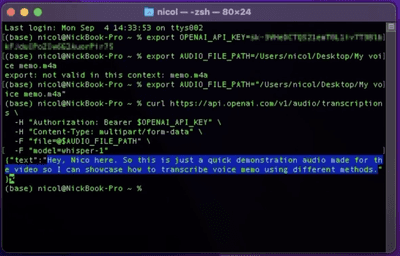
You can now copy & paste your transcript wherever you want!
Conclusion
And that's it! You have 3 different methods to transcribe your voice memos to text on your Mac. Pick the one you're the most comfortable with. If you're interested, I also made a guide to transcribing voice memos to text on iPhone
That being said, I'll recommend using TalkNotes simply because it's super fast and it just works. You can try it here
I hope this tutorial was helpful!

